
05 — Setting up the first site
Installing the extension does not style anything yet. Three things have to happen: the site must use the theme's Set, the licence must be valid, and the page tree needs a root page with a template.
1. Create or open the site configuration
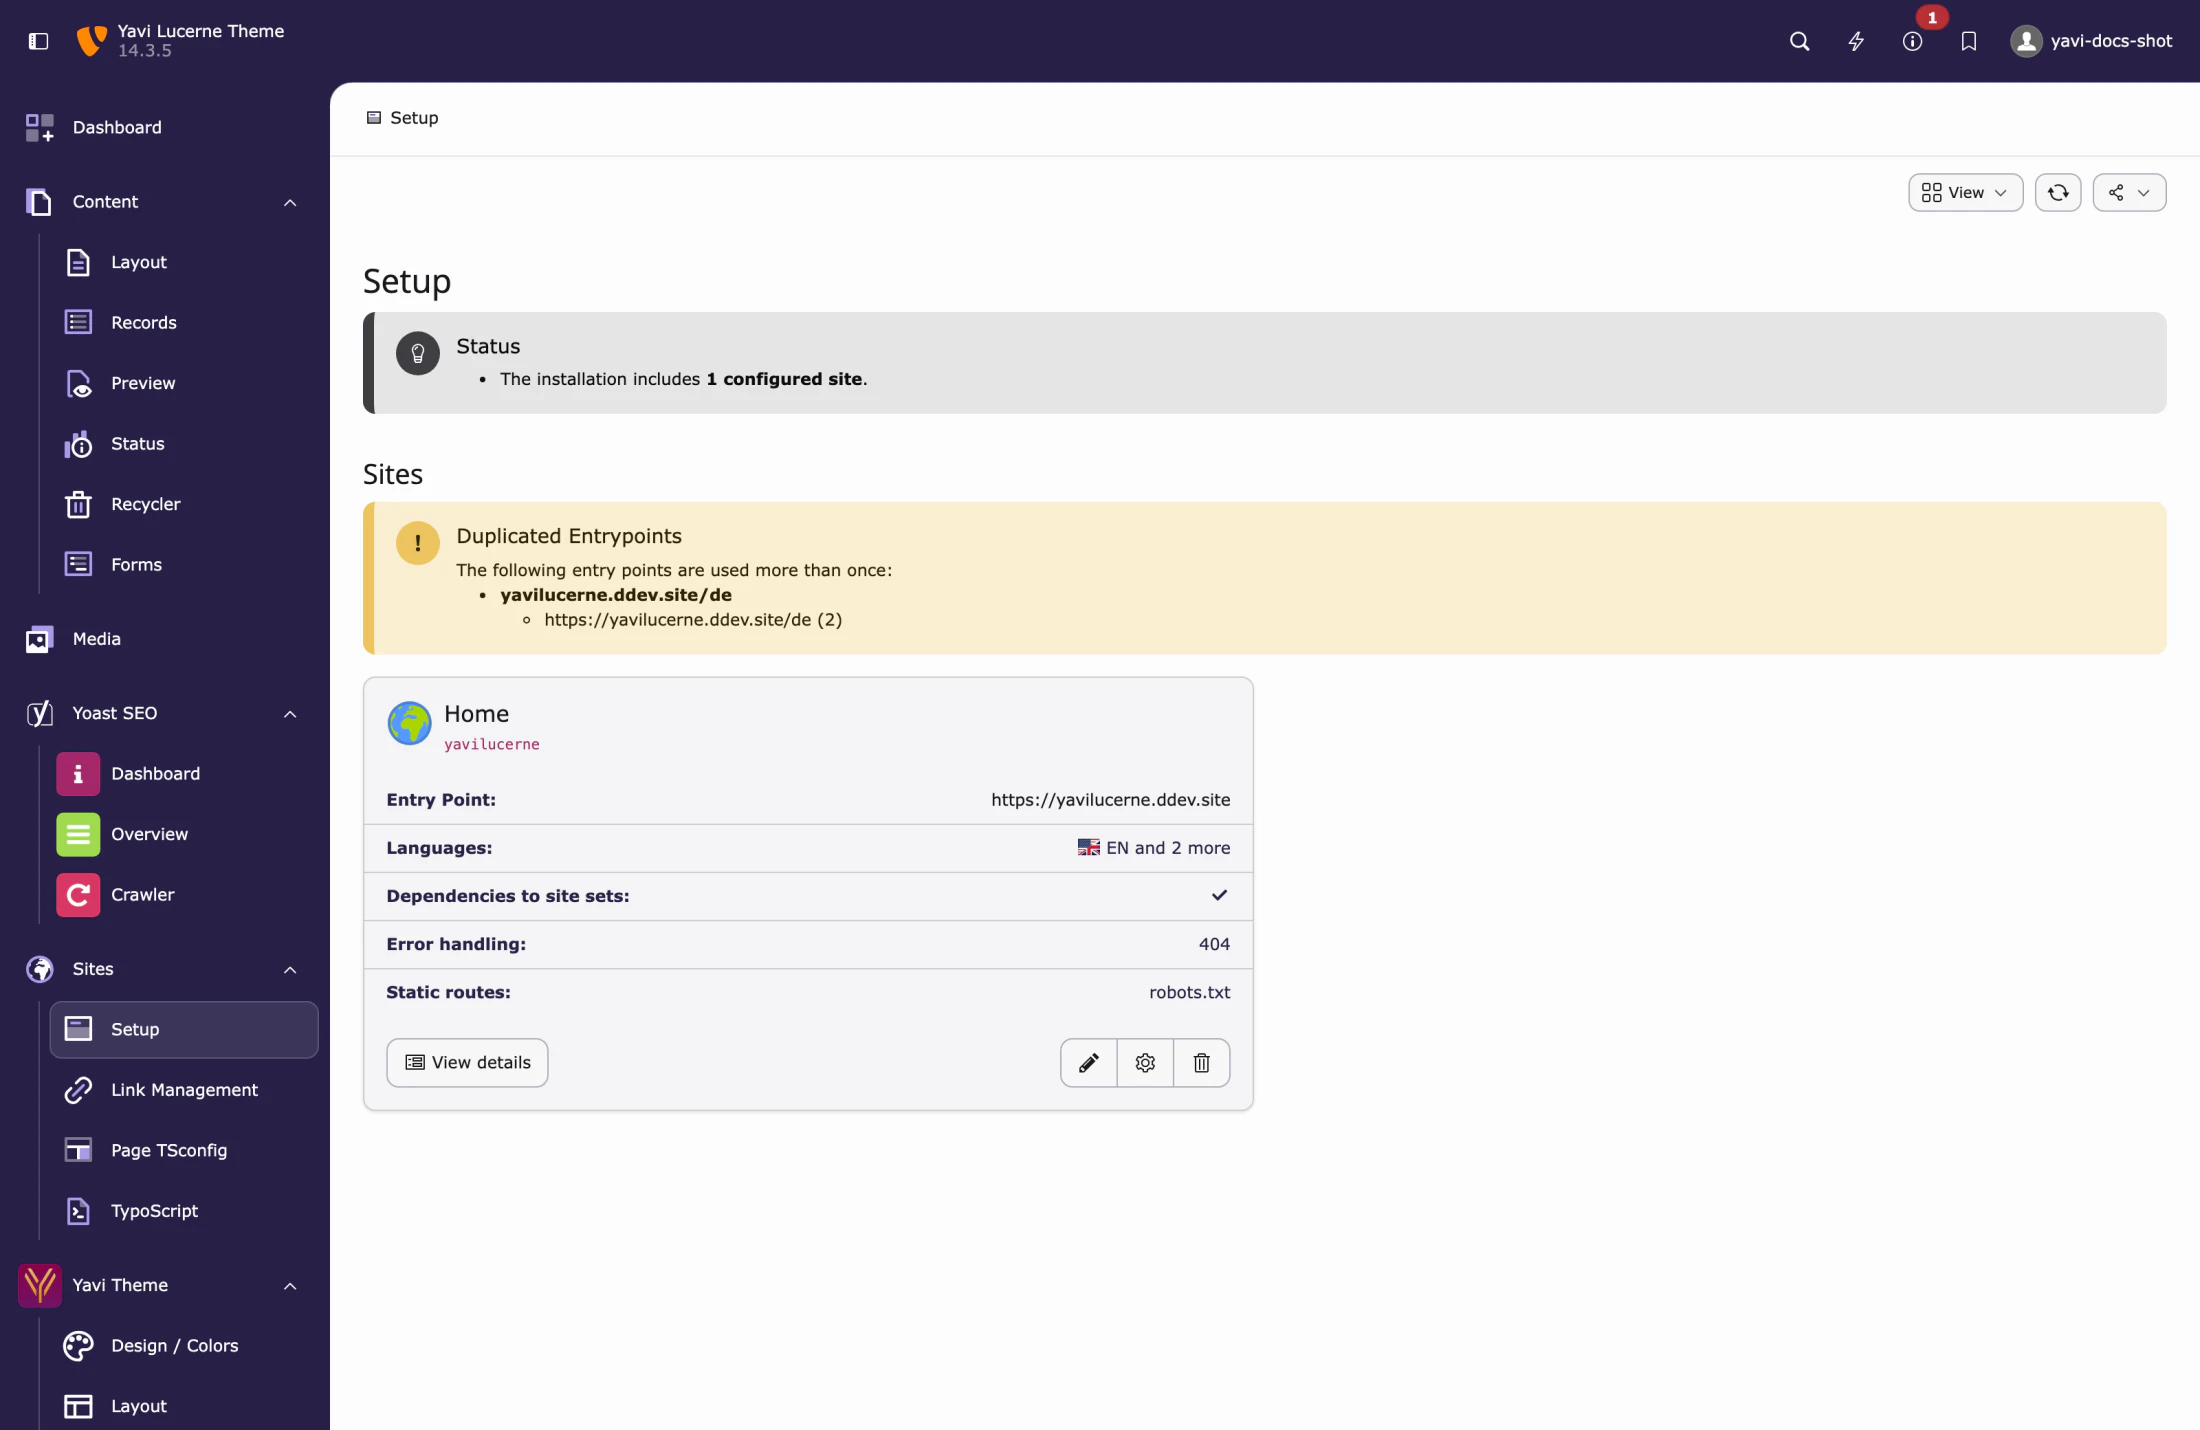
Site Management → Sites. Either create a site for your root page or open the existing one. Set at least:
| Field | Note |
|---|---|
| Entry point / base | e.g. https://example.com/ |
| Languages | Every language needs a locale; the theme translates labels via XLIFF. |
| Error handling | 404 → a page in the tree, not the TYPO3 default. |
2. Activate the Set
This is the step people forget.
In the Sets tab of the site configuration, activate:
yavi-lucerne/full ← the themeNot yavi-core/full. The theme's Set already depends on core's:
# yavi_lucerne/Configuration/Sets/Full/config.yaml
name: yavi-lucerne/full
label: 'Yavi Lucerne'
dependencies:
  - yavi-core/full
and core's in turn on Bootstrap Package's:
# yavi_core/Configuration/Sets/Full/config.yaml
name: yavi-core/full
dependencies:
  - bootstrap-package/full
  - yavi-core/content_elements
Activating core's Set directly gives you the framework without the design — the site renders, but grey.
In YAML (config/sites/<id>/config.yaml) the same thing looks like this:
dependencies:
  - yavi-lucerne/full
The available Sets
| Set | Contains |
|---|---|
yavi-core/full | Framework + Bootstrap Package + content elements. No design. |
yavi-core/content_elements | Only the content element definitions. Pulled in by full. |
yavi-lucerne/full | Lucerne design on top of core. This is the one you want. |
3. Enter the licence key
Yavi Theme → Licence:
| Field | Example |
|---|---|
| Licence Key | from your purchase confirmation e-mail |
| Product Code | yavi-lucerne |
Both fields matter, the product code as much as the key. Without a valid licence the extension does not work. Details in 11 — Licence.
Save. The page reloads and shows the licence status.
4. Give the root page a backend layout
This is the step that is easiest to skip and hardest to recognise. Without a backend layout a page has no columns to put content into: the element wizard offers a single unnamed column, the theme's containers are never addressed, and the frontend renders an empty frame. Nothing reports a problem — it looks like the theme is broken rather than unconfigured.
Open the root page, go to Page properties → Appearance, and set both fields:
| Field | Set to | Effect |
|---|---|---|
| Backend Layout (this page only) | Yavi Core - Default | the root page itself |
| Backend Layout (subpages of this page) | Yavi Core - Default | every page below it, unless it overrides |
The second field is what makes the setting inherit, so you do it once instead of on every page. The demo's own root page is configured exactly this way.
The theme ships three layouts:
| Layout | Use |
|---|---|
| Yavi Core - Default | Standard page: header area + content |
| Yavi Core - No Header | Landing pages that bring their own hero |
| Yavi Core - Footer | The footer's four columns |
Override the inherited layout on individual pages where it does not fit — the demo uses No Header on its twenty element demonstration pages and Footer on the folder holding the footer columns.
init-static-elements.php, which the installations without demo content run, sets them on the root page it creates — and on an existing root page that has none. You need to do it by hand whenever you created the root page yourself, in the backend or in an existing installation.page.tsconfig. If the Backend Layout dropdown offers nothing but Default, that file is missing from your site configuration folder — see 04 — Installing into an existing TYPO3.5. First content
Create a page, add a content element, and check the frontend. If the page does not look the way it should, work through 17 — Troubleshooting — nine times out of ten it is the Set or the licence.
6. Set the brand
Now, and not before, is the time for colours and typography:
- 07 — Design / Colors — primary, secondary, gradients.
- 08 — Layout — logo height, container width, spacing, fonts.
- 09 — Config — navigation variant, contact data, tracking.
Development setup (DDEV)
The development repository ships init-yavi.sh, which creates a complete local site: it asks for the env file, the DDEV project name, the site identifier and the project title, then starts DDEV, installs TYPO3, imports the demo dump and creates an administrator.
Two warnings before running it:
RESET_DBin.env/.env.local: if it is1, the script deletes the entire DDEV project including the database, without a snapshot. On a site you want to keep, set it to0.- The script overwrites
config/sites/<id>/with the template fromInitialisation/Site/yavitheme/. On an existing site your site configuration is gone afterwards. A second run is not an "update".